Project Setup
This guide walks through the process of setting up Zebbra locally for development.
Prerequisites
To run Zebbra you will have to make sure the following is given on your machine (the versions matter!):
- Python 3.10 is installed, we recommend pyenv (how to)
- Node 16 is installed (how to)
- MongoDB Community Edition 5.0 is installed and running (how to)
Repository
Start by cloning the repository, setting up a virtual environment and installing the required dependencies.
Backend setup
We start by setting up the backend, that is the API server, as well as the database.
First, create a virtual environment in the server directory
Next, use the make command to install all package requirements via pip.
.env file
Next, create the .env file with the environment variables. Run the following to create a file with the starter template. You will have to fill out the missing variable assignments (e.g. secrets etc.).
# zebbra/server

cat <<EOF > .env
# VALIDATION
ENV_SET="true"

# BASE URL
ZEBBRA_BASE_URL="http://localhost:8000"

# SETTINGS
ENV_ENCRYPT_PASS=

# AUTH
AUTH_SECRET=
AUTH_ALGO="HS256"
# 30 days in minutes
AUTH_TOKEN_EXPIRE=43200

# MONGO DB
MONGODB_USER=
MONGODB_DB=
MONGODB_PW=
MONGODB_URL="127.0.0.1:27017"

# XERO
XERO_CLIENT_ID=
XERO_CLIENT_SECRET=

# GUSTO
GUSTO_CLIENT_ID=
GUSTO_CLIENT_SECRET=

# CACHE
# 24 hrs in seconds
CACHE_TTL=86400
EOF
Database
If you've set up the .env file correctly, you can use the default script to set up the database.
This creates the required users, sets up the indexes for caching, and loads some demo data.
Run the server
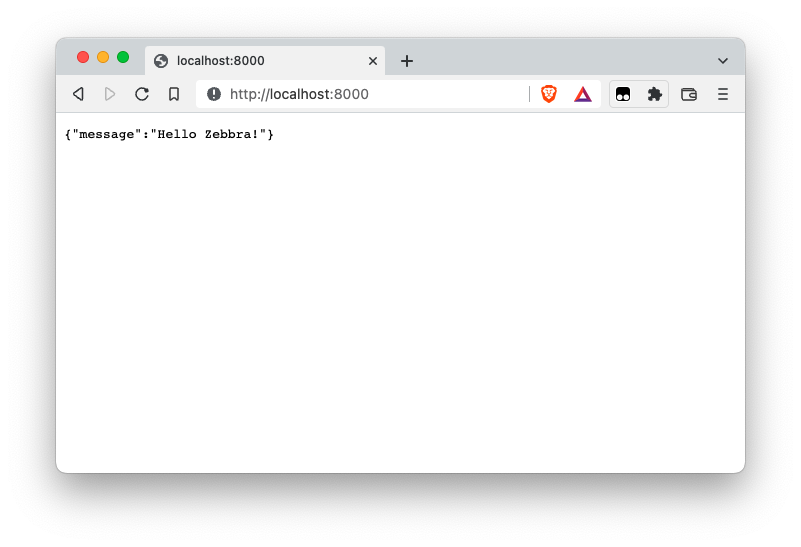
At this point you should be able to run the app with the provided run_server command on port 8000.
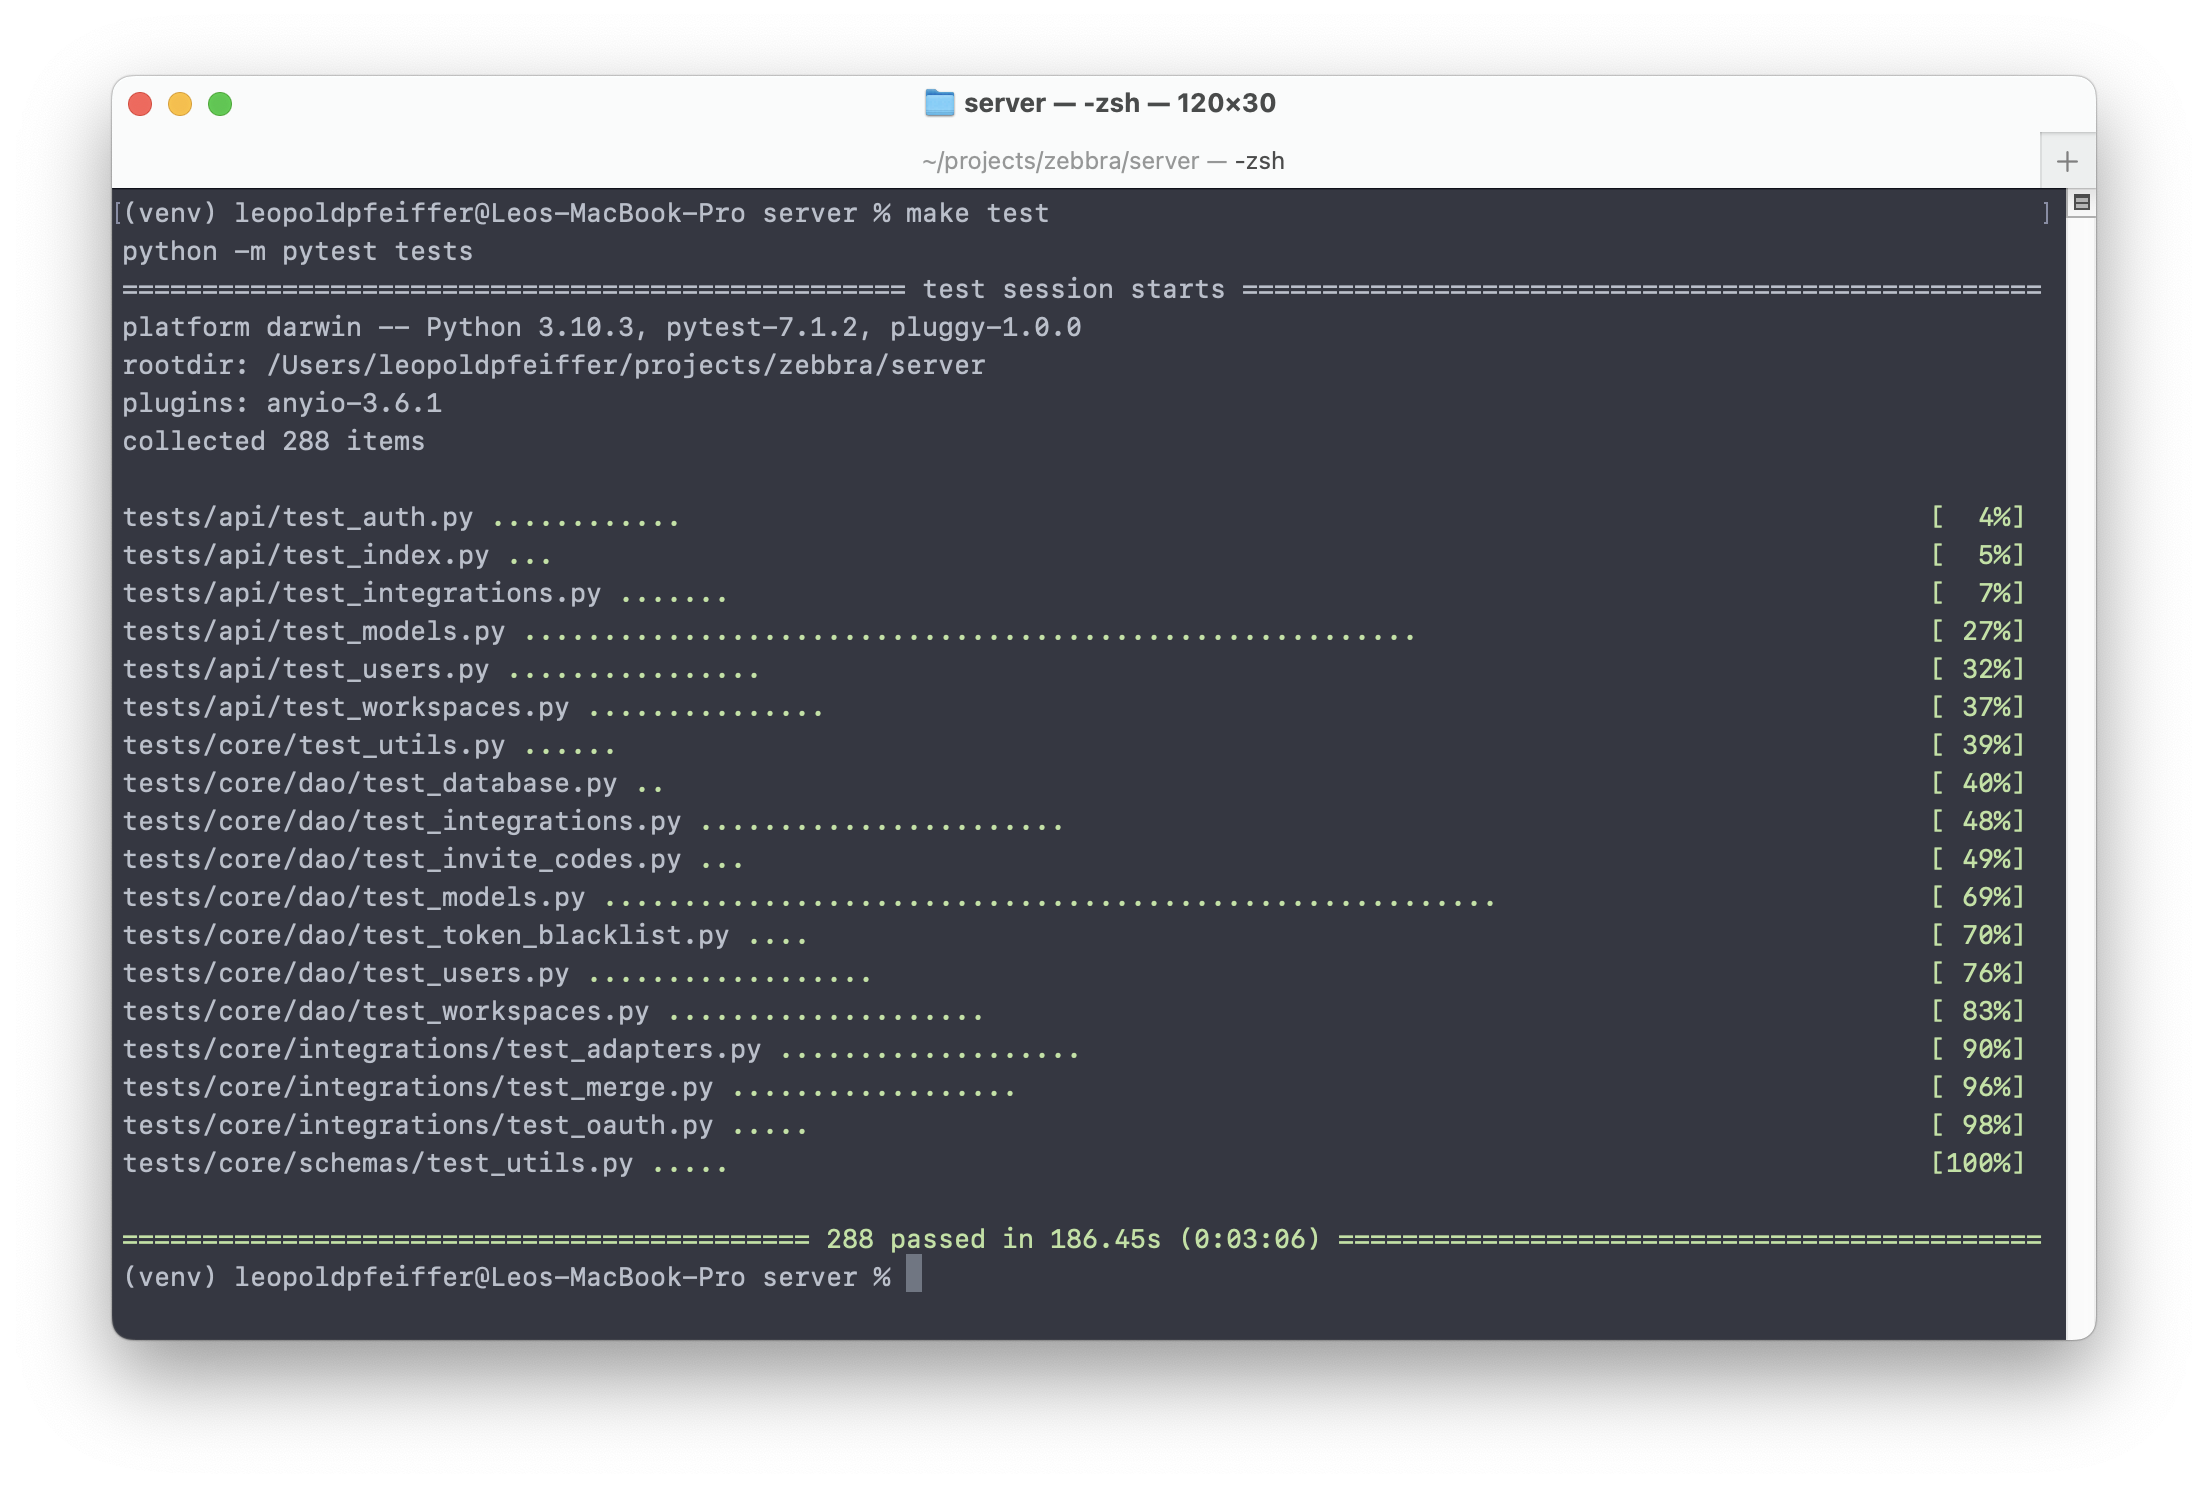
Testing
If you want to run the unit tests for the backend you can now do so like this:
Client setup
Setting up the client is comparatively straightforward.
Install requirements
Start by installing the node modules from the webclient directory.
.env file
Like the server, the client requires a simple .env file. You can create it with the following command.
# zebbra/webclient

cat <<EOF > .env
# URLS
FRONTEND_URL_BASE="http://localhost:3000"
BACKEND_URL_BASE="http://localhost:8000"
EOF
Build and run the client
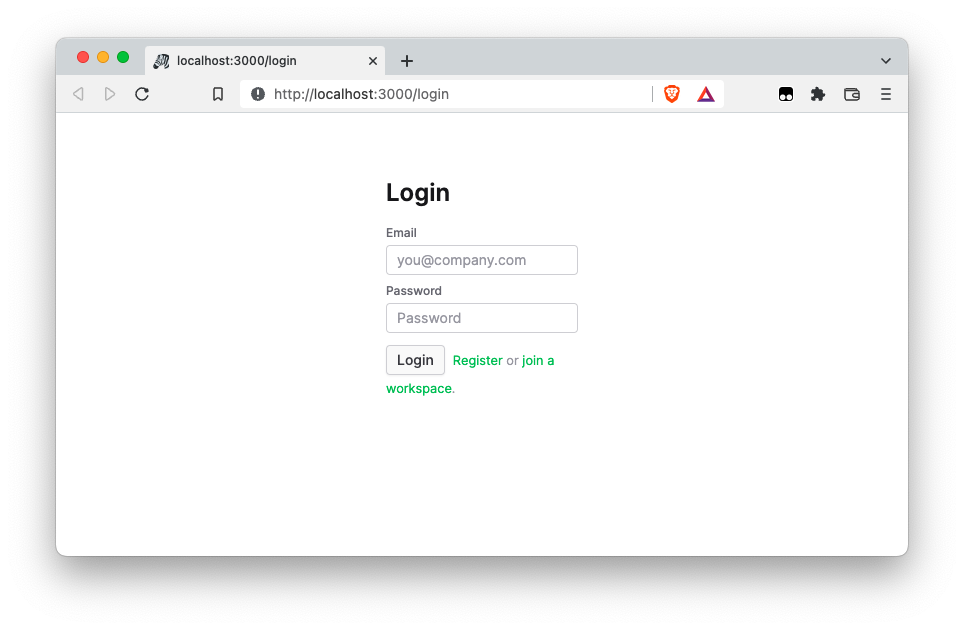
Lastly, we can build and run the client, like so:
The client will be served on http://localhost:3000.
Testing
If you want to run the unit tests for the frontend you can now do so like this.